Comidor Contacts facilitates your Contact Management, Communication and therefore Collaboration with these Contacts. Comidor offers options to categorize your contacts and manage them more efficiently, send group internal and external emails and email a form (e.g. questionnaire) to conduct your own survey.
Note: You can use the Quick Add Menu to add a Contact (basic information only).
Create a Contact
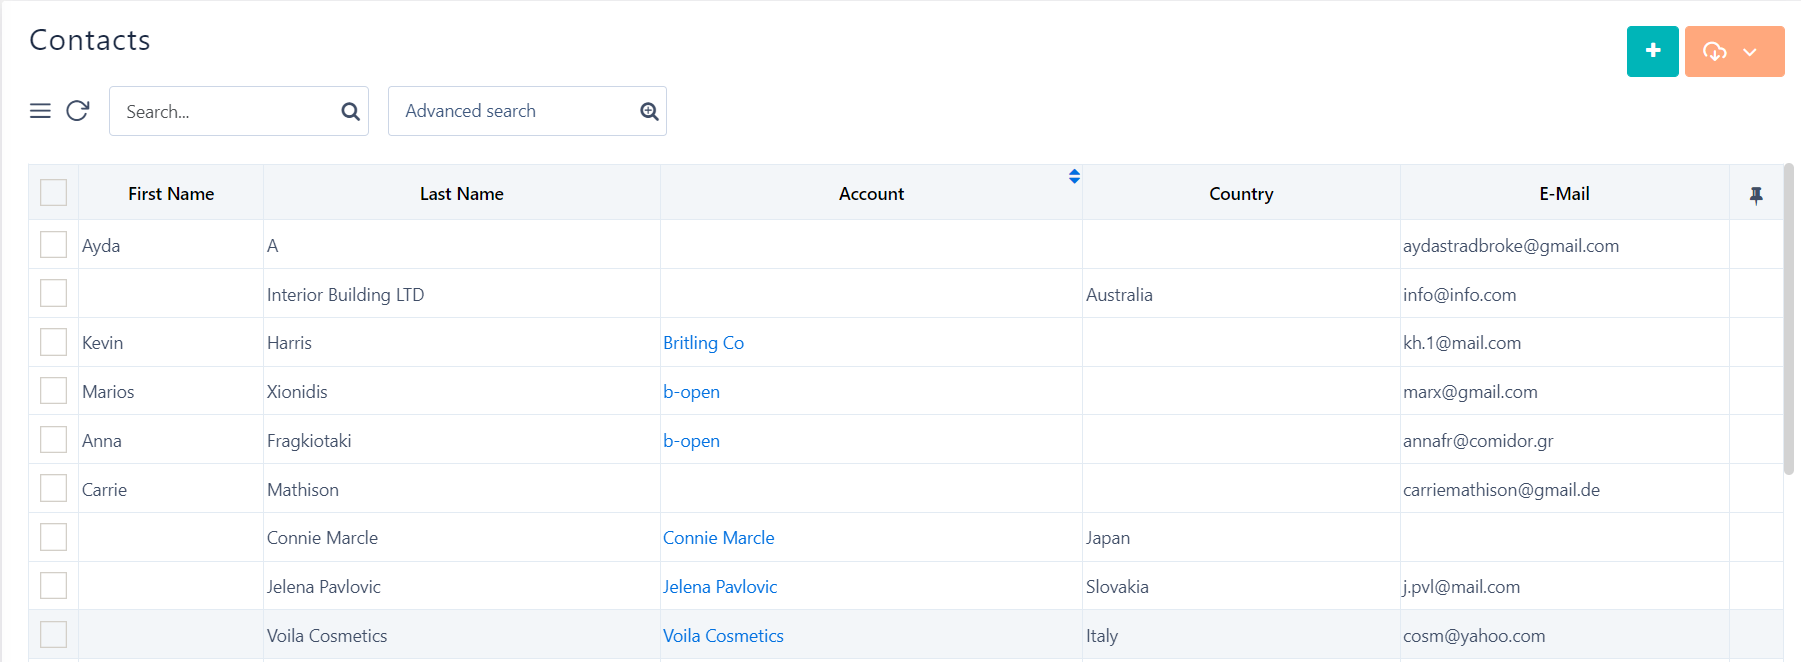
- To access Contacts, go to Workplace > Contacts.
- Click the + Icon at the right top of the screen to open the Create Contact form.
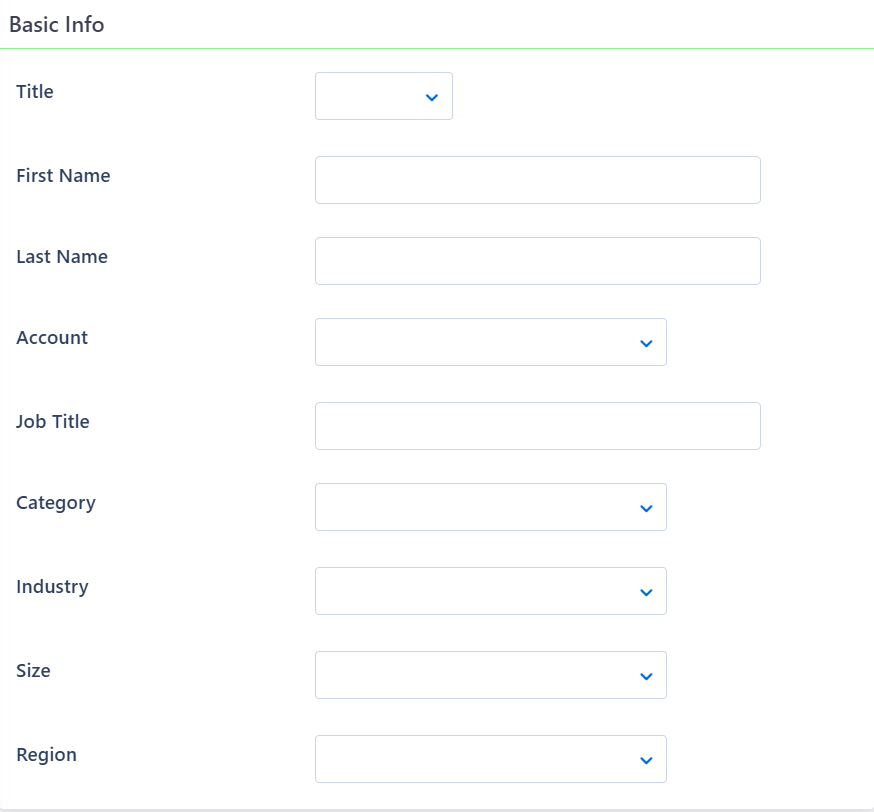
- Fill in Basic Info:
- Add a Title, First Name, and Last Name
- Connect this new contact with an existing Account
- Add a Job Title
- Assign a specific Category to that contact. Categories are part of the List Management feature
- Add industry, size of the business and region
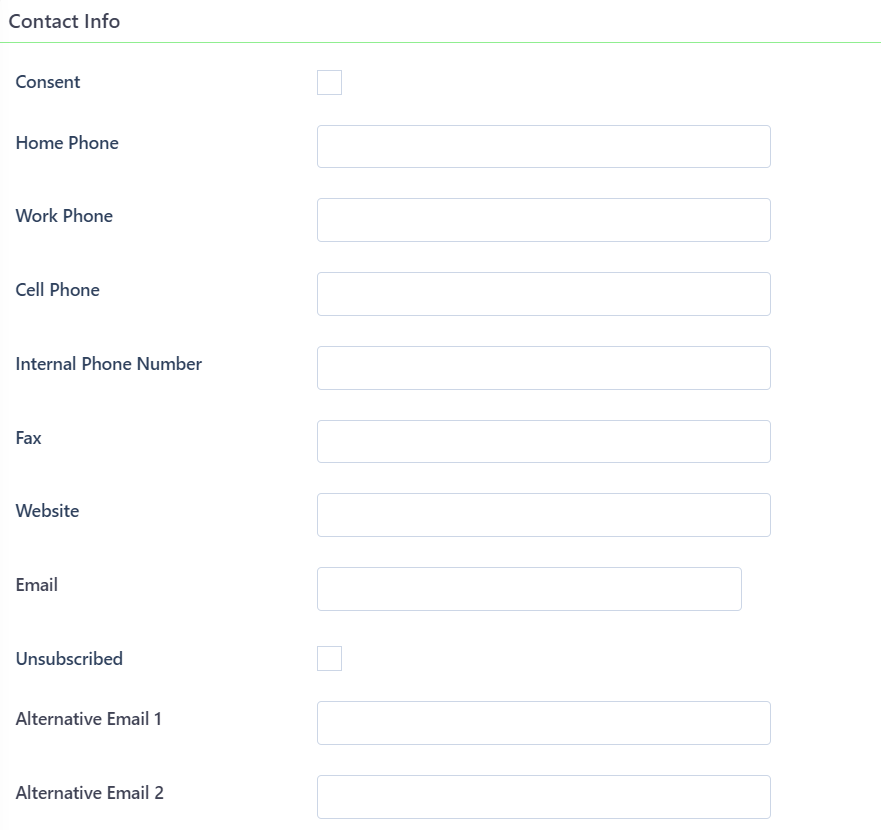
 Continue by adding Contact Info:
- Check if this contact Has given us consent to use personal data based on GDPR European regulation
- Add Home, Work, Personal and Internal Phone and Fax details. You are able to utilize phone fields so that end-users can make calls by clicking on the phone number button and using their computer’s default application.

- Add a website that the contact might have
- Add any Email addresses for the contact. You are able to incorporate email fields so end-users can view the email address and copy it into their clipboard by clicking on the respective button. Also, an email icon will be displayed next to the field in the form so that end-users can send emails by clicking on the mail button and using their computer’s default application.

- Also, you can check if this contact wishes to be Unsubscribed, so you can exclude this Contact from your future Campaigns
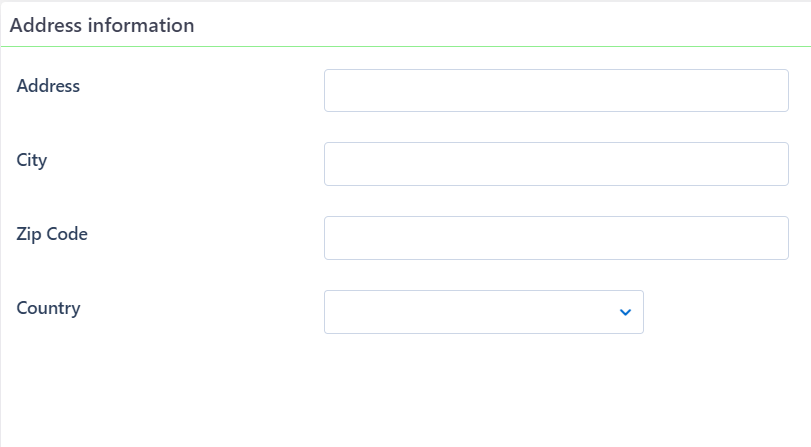
 Add Address information:
- Address, City, Zip Code, Country
- Address, City, Zip Code, Country
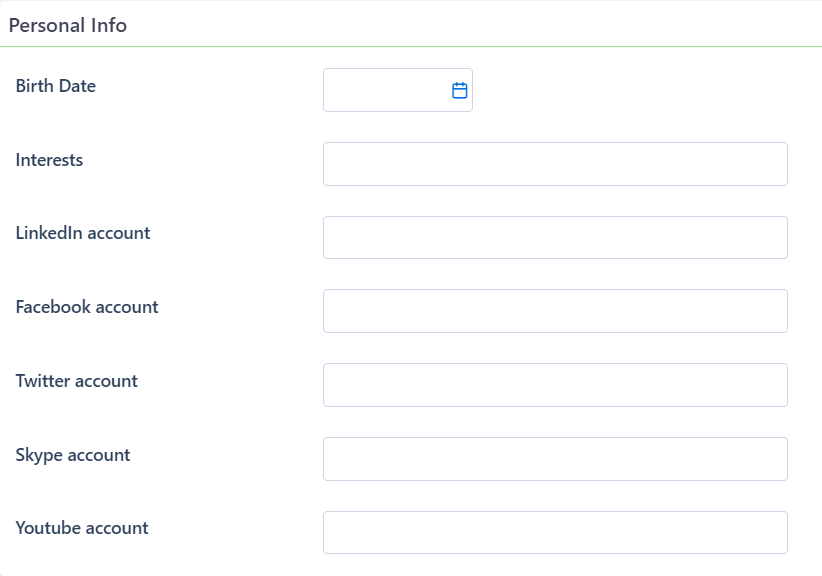
- Give extra Personal Information that may be relevant to the contact.
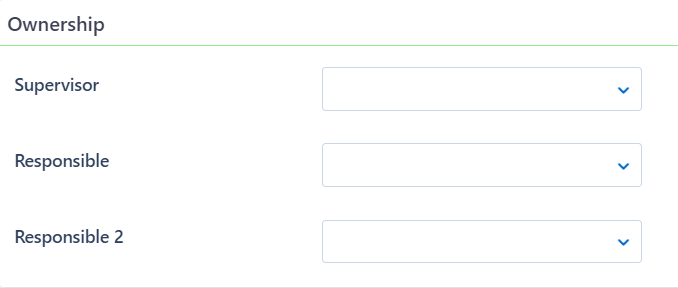
- Choose the Ownership of this Contact (Users)
- Add the Supervisor of the Department and the Responsible Users who will communicate most with this Contact. This means these three users will have access to any communication with contact via company Email. If these fields are left blank, the contact’s creators name will be added
- Add Remarks for this Contact
- Select the desired Save option (refer to Quick Reference Guide)

Edit a Contact
- To access Contacts, go to Workplace > Contacts.
Click on a Contact you wish to edit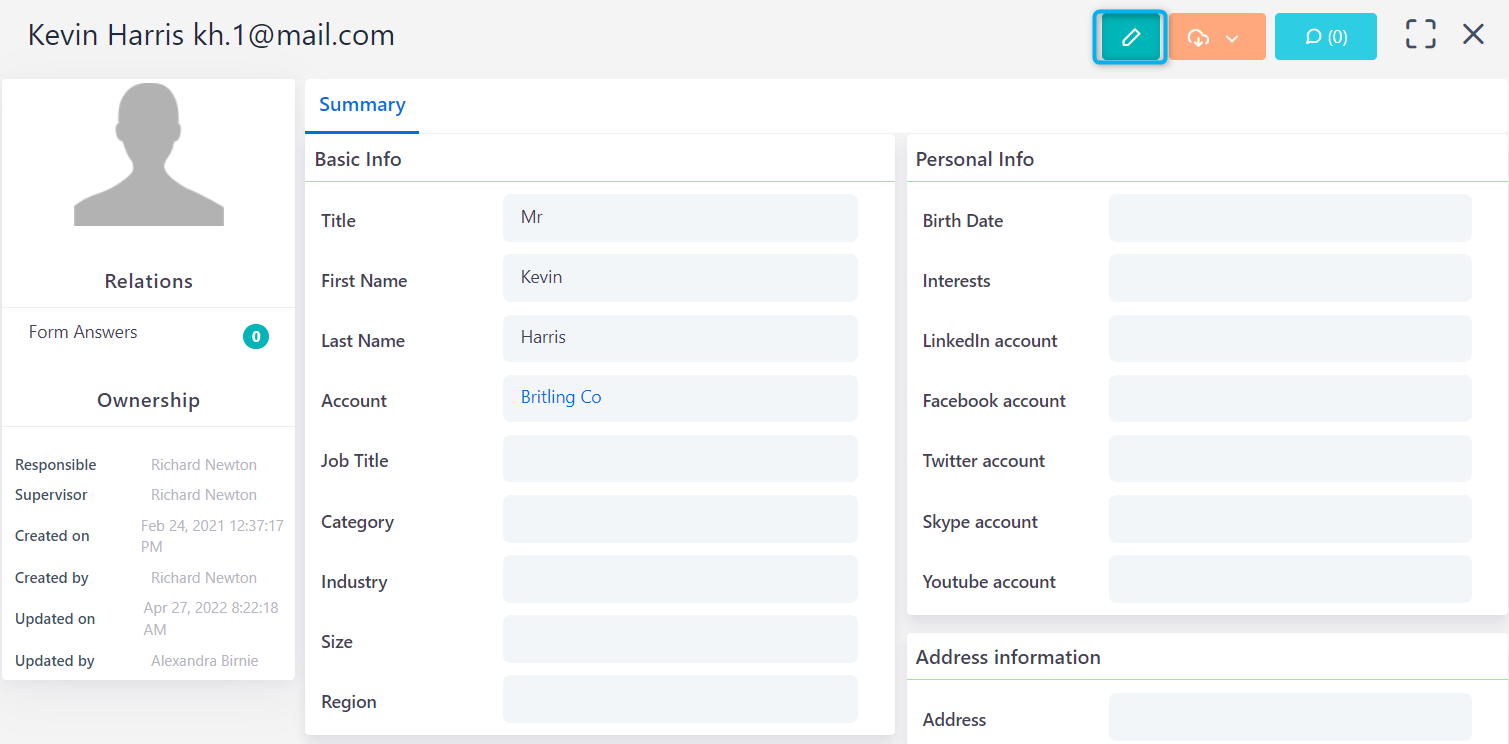
- Click on the Pencil Icon to Edit
- Edit the information you want
- Select the desired Save option (refer to Quick Reference Guide)
View and manage a Contact
- To access Contacts, go to Workplace > Contacts.
- Click on a Contact you wish to view
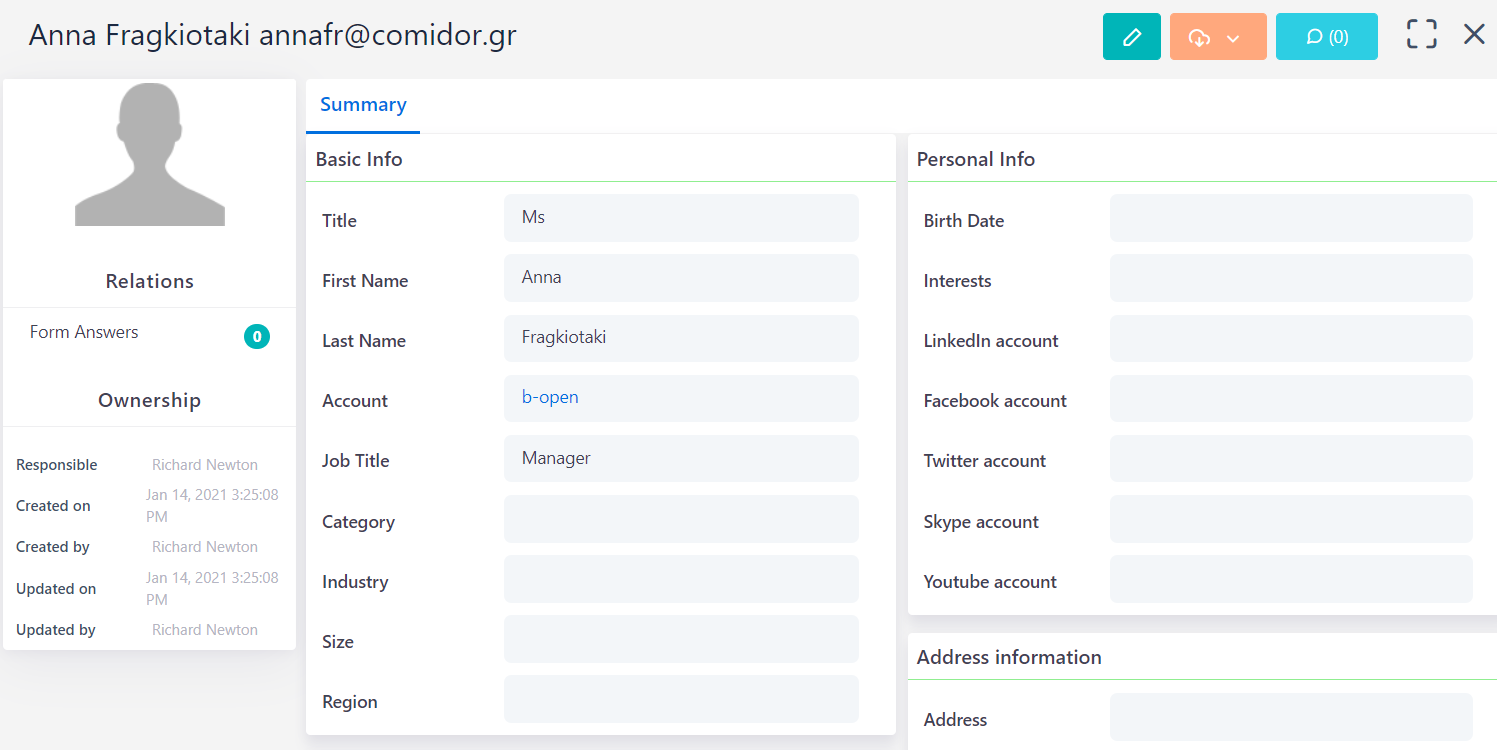
- In the Contact’s summary, you are able to see Basic info, Contact info, Address information, Personal info, and Remarks
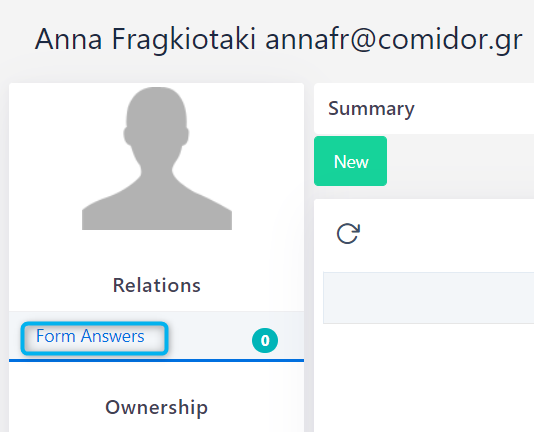
- Click on the Form Answers to see all responses or complete a new response in a Survey that has been created and is related with all Contacts
- Click on the Action Icon of a contact to perform other actions, such as:
-
- Delete – to delete the Contact. A pop-up confirmation box appears
- Print – to print the current view of the Contact. If the selected tab from the sidebar is “Activity History”, that view will be printed
- Link – to add a new Link between this Contact and any other Comidor object e.g. a Project, an Event, etc.
- Notify – to send a Notification to specific groups, users or external recipients via email (provided that you have already connected your Email in the system)
- Send New Email will open a new email form. Alternatively, click on the Contact’s mail in the Contact’s Summary view
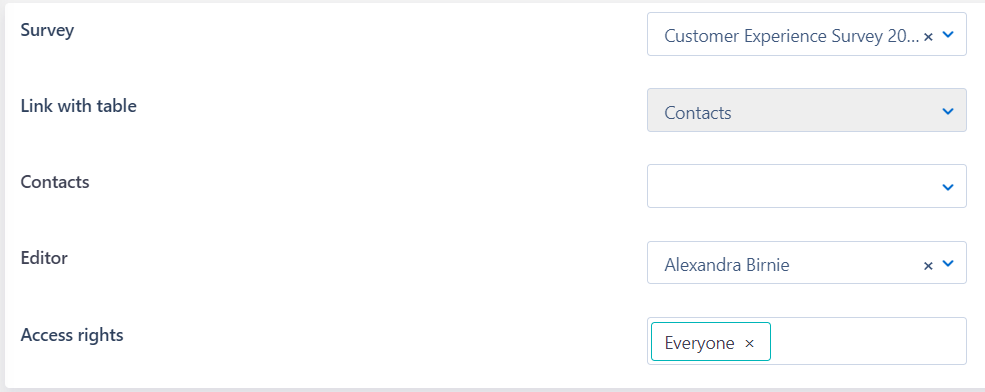
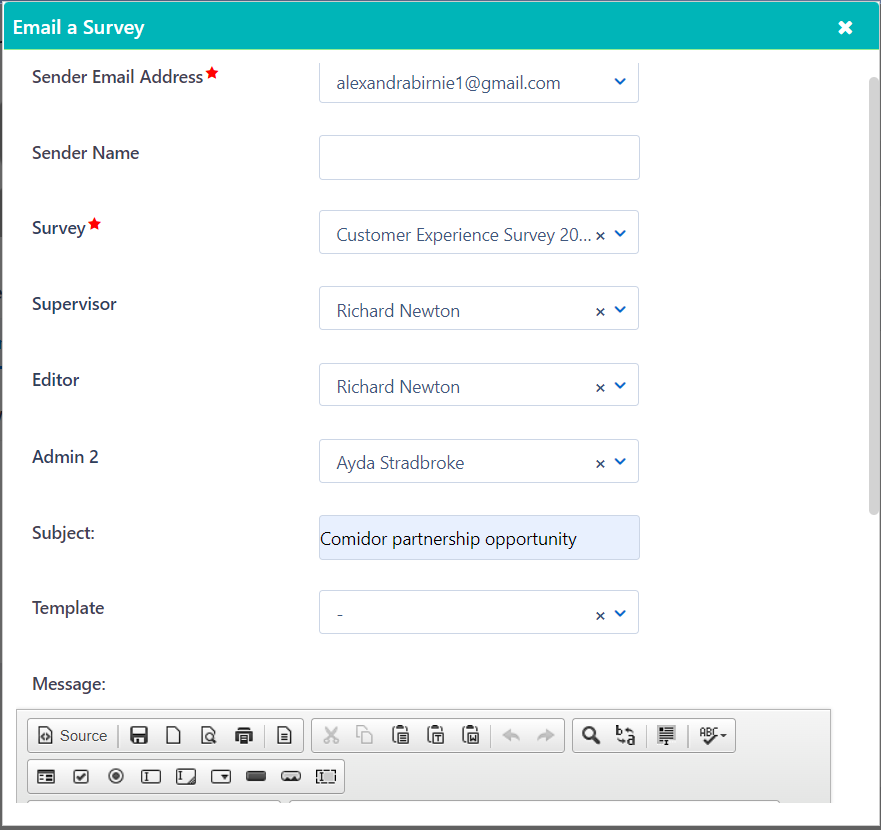
- Click on Email a Survey to send an existing Survey to the Contact’s Email
- Select the Sender Email Address from the emails you have connected to your account
- Add the sender name that will be viewed in the sent Email
- Choose an existing survey from the list
- Supervisor, Admin 1 & 2 are automatically taken from the Survey-Process
- Add the Subject that the recipient will see in the Subject line of the Email
- Load a specific Email Template from your Mailbox or write your own message in the HTML Editor
- Click on send to send the Email with the Survey
- Click on Create Account to successfully convert this Contact to an Account. A pop-up appears prompting you to add the new Account’s name. Click on Create to proceed
- You can select to add a Contact to Personnel. This means that this Contact will be converted to a Personnel object. Add the status (Candidate, Active, Retired, Fulfilled, Rejected, Hired, to be Approved), select or add Education and a Specialty
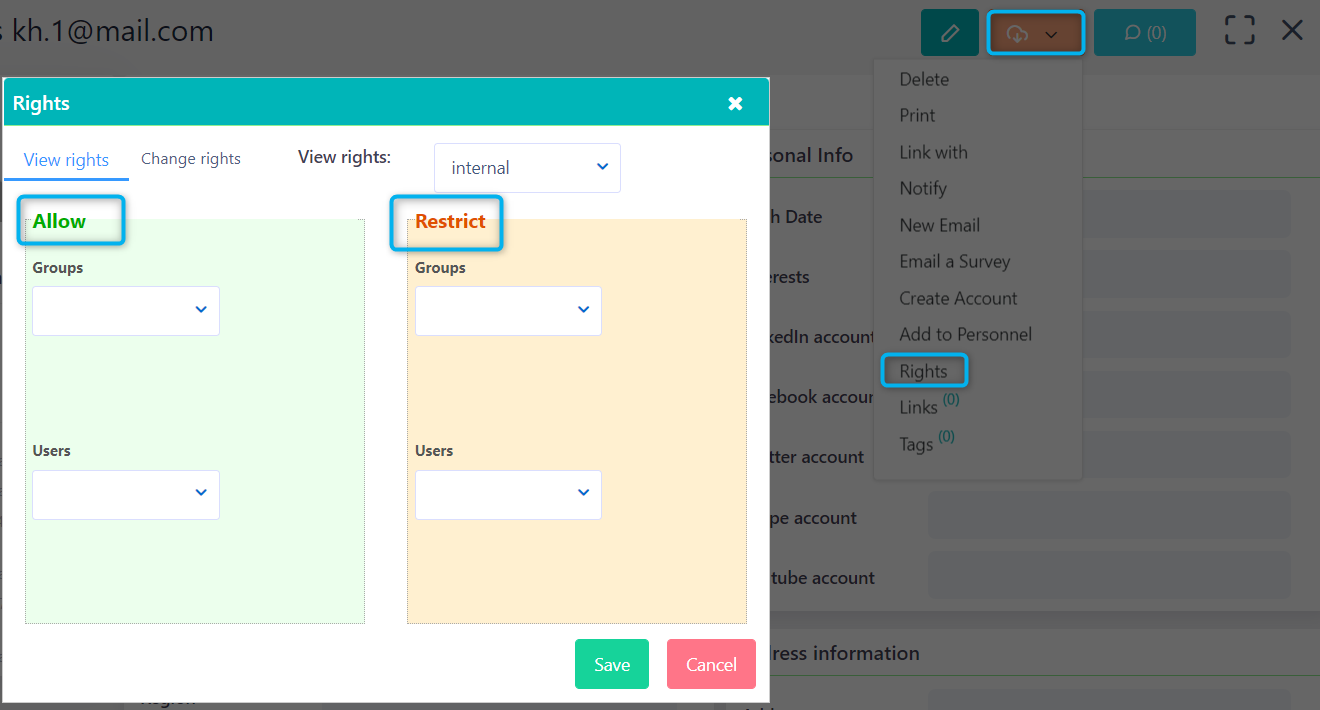
- You can change View Rights in a Contact
- Selecting the View Rights tab, you can choose to give access to a group that you are a member of or select multiple groups and /or users from the Allow option on the left side of the pop-up box. You can restrict specific users or groups from viewing this Contact
 Click on Links to add a new Link between this Contact and any other Comidor object e.g. a Project, an Event, etc. Links already created can be found here e.g. all communication messages that refer to this Contact e-mail, any related Projects, Files, etc.
- Click on Tags to add a new Tag to that Contact which can be marked as a private, group, internal or public. You can manage tags that have been previously added to that Contact
- Adding Tags to Contacts will assist in the grouping, filtering and finding them. Saved filters and tags of grouped Contacts will help with ending group emails to them
- Click on the Comment Icon in the top right to add a comment about a specific Contact. Users having access to that Contact will receive a Note-Notification
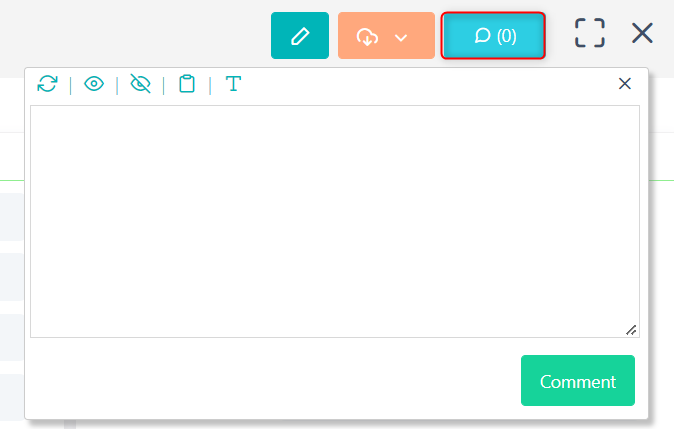
- Add a Comment in plain text or open the HTML Editor
- Users can click on Refresh to see new comments; click on Show More or Show Less to see the number of comments they wish
Manage a Group of Contacts
- To access Contacts, go to Workplace > Contacts.
- Select the Contacts you wish to manage
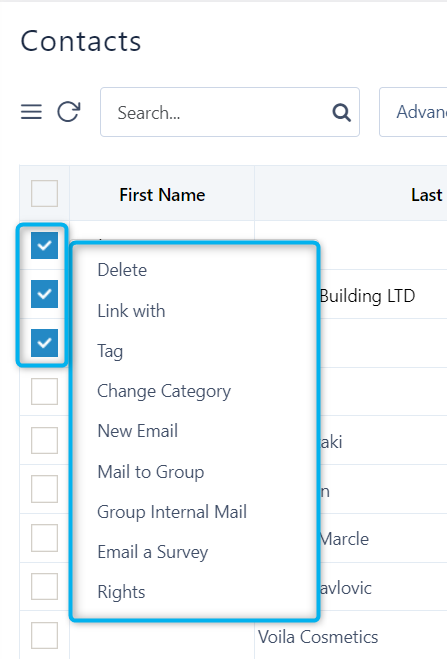
- Select one of the options:
-
- Delete – delete the selected Contacts. A pop-up confirmation box appears
- Link with – add a new Link between these Contacts and any other Comidor entity e.g. a Project, an Event, etc
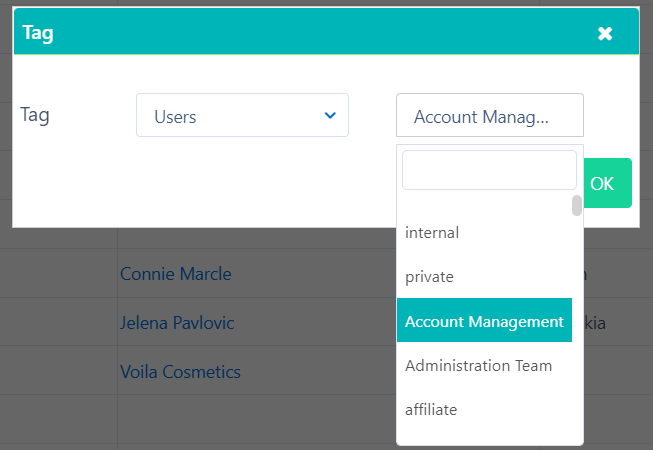
- Tag – add or apply multiple Tags to selected Contacts. Tags can be a private, group, or internal. Click OK to proceed
- Adding Tags to Contacts will assist in grouping them, filtering and finding them
- Adding Tags to Contacts will assist in grouping them, filtering and finding them
- Change Category – change Contact Category by selecting another one or adding a new one
- New email – a new email form opens with the Contacts emails in the recipient field

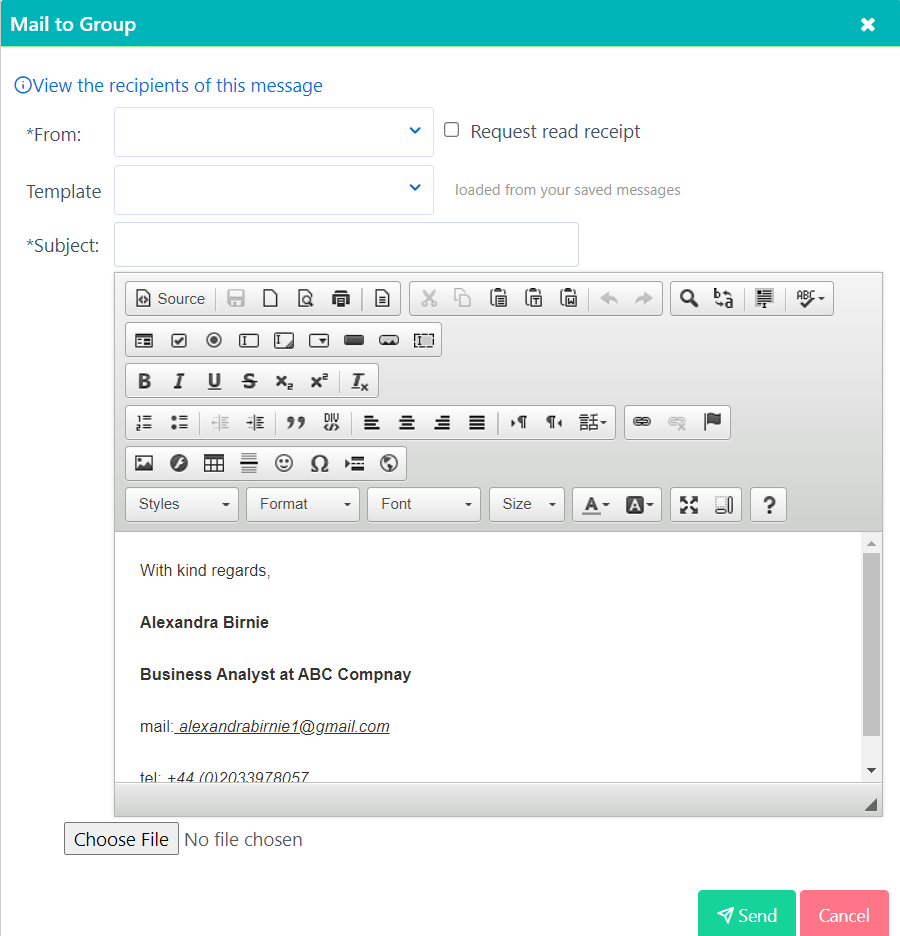
- Mail to Group – send a group mail to selected Contacts. Select one of your connected emails, if you need a request read receipt and whether to load an Email Template from the Mailbox or add the Subject and content in the HTML Editor. Press Send to proceed
-
- Email a Survey – send a previously created Survey to the Contacts email:
- Select the Sender Email Address from the emails you have connected to your account
- Write the Sender Name that will be viewed in the sent Email
- Choose the survey from the list
- Supervisor, Admin 1 & 2 are automatically taken from the Survey-Process
- Add the Subject that the recipient will see in the Subject line of the Email
- Load a specific Email Template from your Mailbox or write your message inside the HTML Editor
- Send – to send the Email with Survey
- Rights – adjust Access Rights of Contacts. Selecting View Rights tab, you can choose to give access to a group that you are a member of or select multiple groups and /or users from Allow options on the left side of the pop-up box. You can restrict specific users or groups from viewing these Contacts.
- Email a Survey – send a previously created Survey to the Contacts email:
View a Group of Contacts
- To access Contacts go to Workplace > Contacts.
- Select the View you wish to see the Contacts in

- Default View: the pre-defined view of Contacts in a list.
- New View: check more on Data Management on how to create and save your own View
- Choose Between Table or Graph, if you want to get your result in a list or in a graphic view
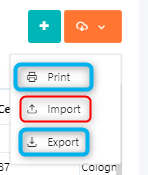
- Select to Print the current view from the Actions Icon. Another tab opens with the print preview
- You can also select to Export in a *.xls file the List with the Names of the current view-page or all pages
Import Contacts
- To access Contacts, go to Workplace > Contacts.
- Click on the Actions Icon on the top left and then select Import
- In the pop-up window you can import Contacts following these steps: